Create an image map
An image map is a graphic with clickable areas (hotspots) that link to different URLs, or can be hovered over to display a small popup.
On this page
Example of an image map
A sample of an image map appears on the CMS Lite content menu page. Hover over any of the symbols on the toolbar.
Tutorial video
Watch a tutorial video to help you understand how to create an image map.
Prior to creating an image map, you must first insert an image into your content.
- Click on the inserted image
- Select the Insert/Edit Image Map
icon on the toolbar
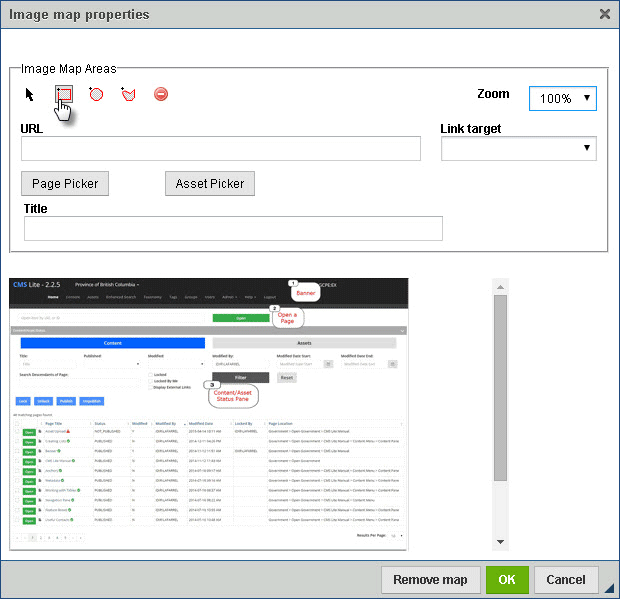
The Image Map tool will be displayed
- Choose one of the Image Map Area tools to highlight the hotspot on the image
- Click the left-mouse button to define the start of the drawing area (a cross-hair tool will appear +); continue to hold down the mouse button and drag the drawing tool over the desired area of the image (an outline will appear as you move the mouse)
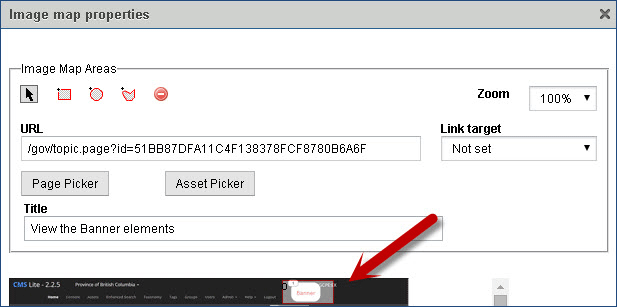
- Click the left-mouse button again to define the end of the drawing area to lock the area (the outline will turn red).
A sequential number will appear in the top-left corner of the drawing area
- In the URL field, enter a valid URL or choose the [Page Picker] or [Asset Picker] to link to an internal page or asset
- Enter a description in the Title field which will be displayed in the web browser on mouse-over

Repeat steps 3 to 7 to add additional hotspots
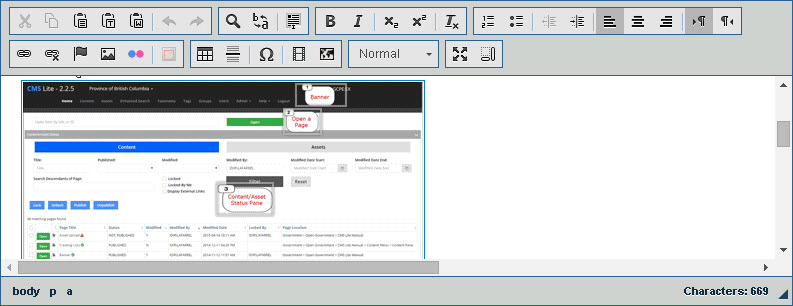
- Click [OK] to save and close the image map
The Image Map Tool will be closed and a grey border will appear around the selected hotspot
Linking guidelines
If adding links to an image, always test the link in QA to ensure the link is functioning as expected.
Linking to web pages and assets
Open in new window: applications or files
When linking to applications or files, such as PDFs, opening new browser tabs or windows is acceptable.
Open in same window: web pages
When linking to other web pages, open hyperlinks in the same (current) window, unless doing so will disrupt the workflow, confuse your audience, or terminate a secure session.
How to link to an anchor
Use the Image Map tool to link to an anchor:
- Type a pound sign (#) in the URL field
- Entering the anchor name


