Alerts tab
Learn how and when to create, modify, and remove alerts in CMS Lite.
On this page
Introduction to alerts in CMS Lite
Purpose of alert messages
Alert banners notify people of important information or changes on a page. Typically, they appear at the top of a page when the page is displayed in a web browser.
It is important to use alerts only for important and typically time-sensitive information.
Approval process for alert messages
Alert messages must be approved by your Government Communications and Public Engagement (GCPE) communications shop prior to publishing.
Alert types
There are four different types of alert messages:
Danger alert (red)
Use danger alerts if a service is cancelled, there's a risk to health or safety to people in completing an activity, or with form validation errors that will block the person from completing their task.
Warning alert (yellow)
Use warning alerts when there is something urgent or to help someone avoid a problem for things like delays, closures at certain locations, and other types of service disruptions.
Information alert (blue)
Use information alerts for important time-sensitive information like changes in wait times for a service, messages that there is no service disruption, changes to a service that aren't a disruption, or timely updates
Success alert (green)
Use success alerts to notify someone that a task is fully completed or a disruption is resolved.
Character limit
Alerts have a 250-character limit.
How to create and manage alerts
To create an alert in CMS Lite:
- Select the Alerts tab
- Click the [Add New Alert] action button
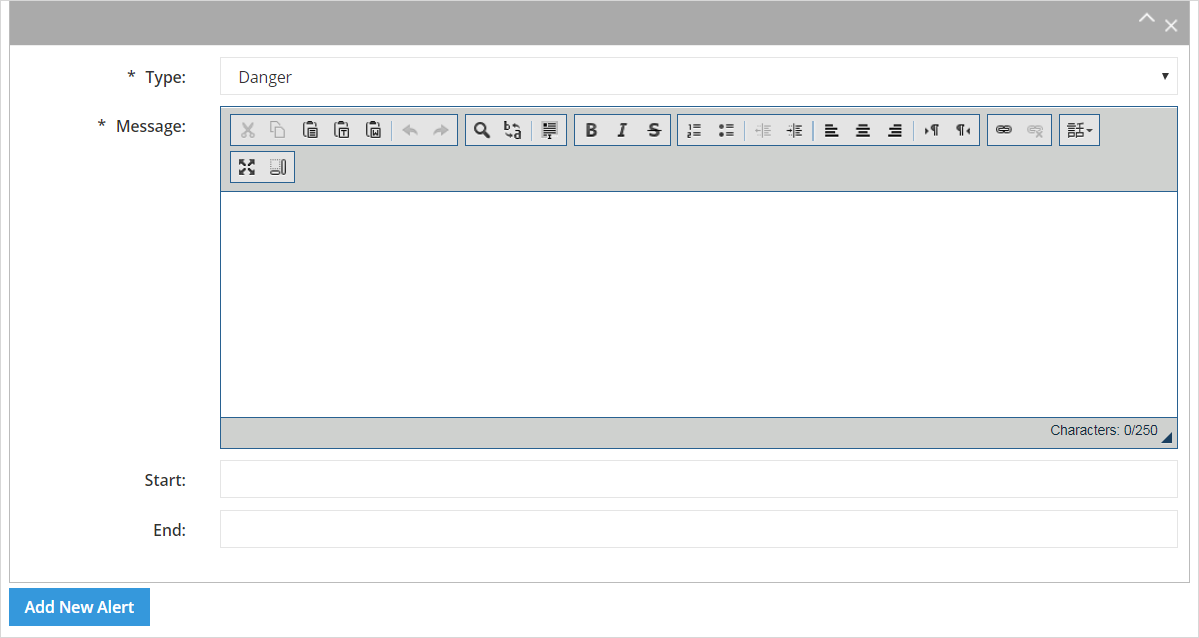
The Alert component will be displayed.
- The Type field defaults to Danger (red alert). Use the drop-down arrow to select an alert type:
- Danger – red
- Warning – yellow
- Success – green
- Information – blue
- Enter applicable text, up to a maximum of 250 characters, in the required Message field
- If applicable, complete the Start and End date fields
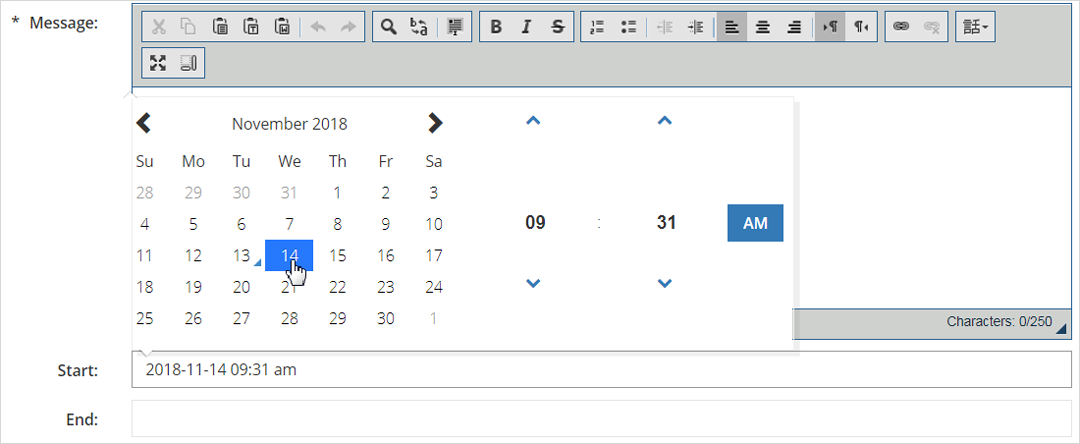
- Click in the Start field
A calendar will be displayed with the current date and time - Navigate to the desired start date
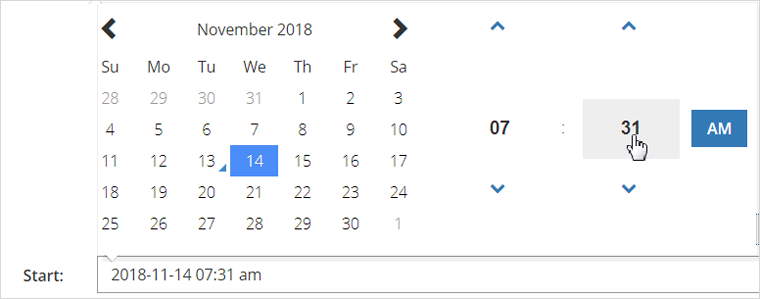
- You may select a new time using the up/down arrows
- Or, you may click directly on the number to display increments
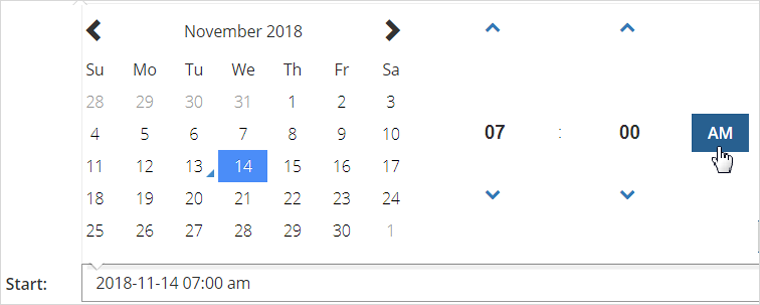
Incremental choices will be displayed - Depending on the time of day, an [AM] or [PM] button will be displayed next to the seconds. If necessary, click on it to toggle to morning or afternoon
- Click in the Start field
- If an end date is required, click in the End date field and repeat step 5
- Click outside the calendar to close the pop-up
The Start field will be populated with the selected date and time

- Repeat the above steps to add up to five alert messages. Once the maximum has been reached the [Add New Alert] action button will no longer be available


