Manage assets in CMS Lite
Effectively manage your digital assets in CMS Lite using various functionalities like publishing, unpublishing, moving, or bulk tagging.
On this page
Actions available to manage assets
The following actions are available to manage assets and asset folders:
Save and delete
- Save folder name: Confirm changes made to an asset folder's name
- Delete current folder: Remove an entire folder. Ensure it's empty before deletion
- Delete selected: Permanently remove selected assets. A confirmation dialog will confirm intentional deletion
Publishing and unpublishing
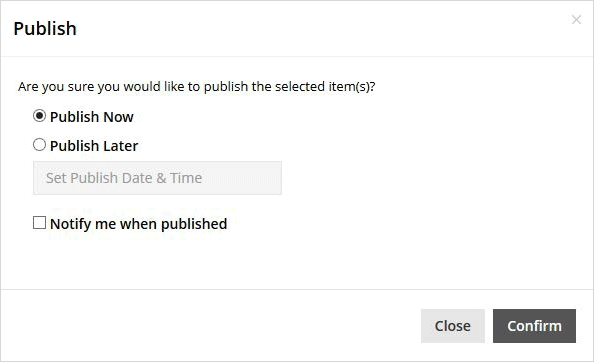
- Publish selected: Choose assets and use the [Publish Selected] button to open the Publish dialog. You can opt to publish immediately or schedule for later
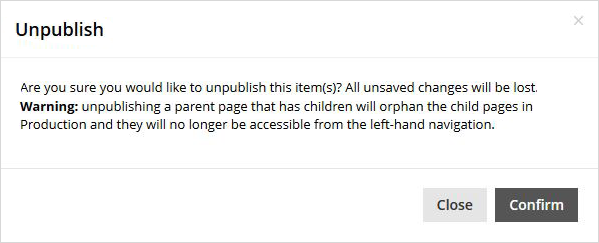
- Unpublish selected: Select assets for unpublishing. This action will immediately remove them from the Production web server, but they'll remain in CMS Lite
Moving and bulk tagging
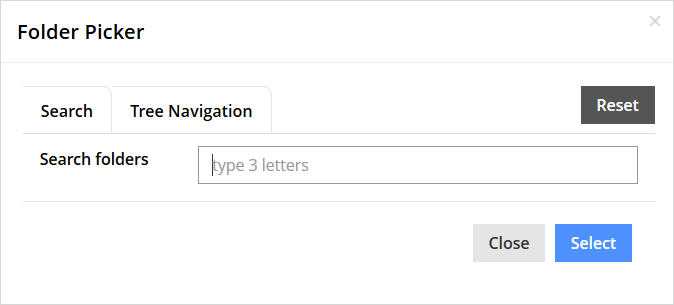
- Move selected: Relocate selected assets to a new folder using the Folder Picker
- Bulk tag selected: Apply metadata and terms to multiple selected assets
How to select assets
When using Publish, Unpublish, Move or Bulk Tag, choose one of the following options to select the asset(s):
- Check the box
 next to the applicable asset(s), or
 - Select the box next to the File/Folder Name heading to select all assets
Select all
When using the Select All function  , you can click in the check box next to the file name to deselect individual files.
Publish an asset
No mandatory metadata
Unlike pages, assets in CMS Lite don't have mandatory field requirements like metadata.
- Select the applicable asset(s) and click the [Publish Selected] action button. The Publish box will be displayed
- Choose to publish the selected asset(s) to the Production web server, now or at a future time/date
- Click [Confirm] to complete the action. The Publish box will be closed and "The Publish Job has be Created" message will be displayed in the top right-corner of the pane
Note: Assets do not have the same validation requirements (mandatory fields) as page nodes. For example, Metadata fields are optional.
Unpublish an asset
- Select the applicable asset(s) and click the [Unpublish Selected] action button. The Unpublish box will be displayed
- Click [Confirm] to complete the action. The Unpublish box will be closed and "The asset has been unpublished" message will be displayed in the top right-corner of the pane
Note: Assets will be immediately removed from the Production web server. They will remain in CMS Lite until the [Delete] action is selected.
Move an asset
- Select the applicable asset(s) and click the [Move Selected] action button. The Folder Picker will be displayed
- Search or Navigate to the new location
- Click on the applicable folder. The folder will be highlighted
- Click [Select] to complete the action. The Move dialogue box will be displayed and a "Move completed" message will be displayed in the top right-corner of the pane

Moving assets and asset folders
Republish moved assets
After moving assets, you need to republish them from their new location for proper database association.
Error: Child item exists in production
Asset folders cannot be deleted, even if all assets have been moved until the assets have been re-published from their new location. An error will be displayed that child item(s) exist in Production.
Moving assets and folders changes the URL
Renaming or moving an asset folder updates the Human-Readable URL immediately in QA, PROD, and the database.
Delete an asset
Do not delete an asset from the CMS Lite that has been used on a published page.
You will create a broken link or the page will not display correctly. Always check the Usage tab to ensure other content is not linked to it before deleting.
To delete an asset:
- Select the applicable asset(s) and click the [Delete Selected] action button. The Delete message box will be displayed
- Click [Confirm] to complete the action. The Delete box will be displayed and a "The asset has been deleted successfully" message will be displayed in the top-right corner of the pane
When you delete an asset in CMS Lite, it will be removed from both the website (Production web server) and the CMS Lite system.

Deleting assets and asset folders
Prevent broken links
Be mindful of the impact of deleting assets linked to published pages. Check the Usage tab before deleting any asset to prevent broken links.
Delete an asset folder
If you want to delete a folder that contains assets, you need to delete all the assets inside it first. Once the folder is empty, you can then delete the folder itself.
Republish moved assets before deleting previous folder
An empty folder that contained published assets can't be deleted until those assets are republished.


