
How to take good photos of an algae bloom
 Photos of the algae bloom are required to assist us in the verification process and may be published on our Algae Watch observation map.
Remember: before you take a photo, please do not include any personal information or any other details that could identify individuals. In order for us to be able to use and share your observation information, it is critical that these photos are taken in a specific manner.
Take at least 3 photos of the algae bloom
First photo: show the maximum extent of the bloom
This photo will help identify if the bloom is isolated to a specific area, or is a lake wide event.

Second photo: take photo of shoreline in same location as photo 1
This image will show if the bloom has been pushed to the water’s edge where bathers and pets may be exposed.

Third photo: take a close up photo

Tip: Add some scale to your photo by placing a leaf, rock, pencil, or gloved hand in your photo.
If you are able to collect a sample without exposing your skin to the bloom, collect some of the material in a glass jar and wait a few minutes to see if the material floats. Visible cyanobacteria often float, compared to green algae which sink.

Don't forget: when submitting your observation, provide as much detailed notes as possible for each photo including location from which they were taken.
In this section
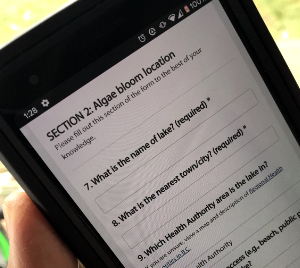
Use our online Algae Watch Observation submission form to send us your algae bloom photos and description.